Jenkins Home Lab
A guide for building a complete Jenkins home lab
- Jenkins Home Lab: Part 1 - Setting up the Master
- Jenkins Home Lab: Part 2 - Setting up Linux Agents (Ubuntu & Raspberry Pi systems)
-
Jenkins Home Lab: Part 3 - Setting up Windows Agents
- Jenkins Home Lab: Part 4 - On-Demand Linux Agents with Docker
Today, since we already have a working setup of Jenkins, lets expand it to include windows agents.
UPDATE: Java Requirement Update with newer Jenkins versions
Jenkins has recently updated their Java requirements to 11+, and this guide has been updated to match. If you are experiencing problems with an existing installation and you see errors like these:
java.nio.channels.ClosedChannelException
	at org.jenkinsci.remoting.protocol.impl.ChannelApplication
java.lang.UnsupportedClassVersionError: hudson/slaves/SlaveComputer$SlaveVersion has been compiled by a more recent version of the Java Runtime (class file version 55.0), this version of the Java Runtime only recognizes class file versions up to 52.0
If you see these errors you need to update Java to 11+ on your Windows agent. Instructions can be found at the end of this guide.
Configuring Jenkins
There are a few things that need to be configured on the Jenkins master server, we’ll get that out of the way first.
Enable TCP ports for JNLP usage
This is likely already done if you are running the Docker image for the master server, but you should check anyway. This will enable the java client on windows to communicate with the master server.
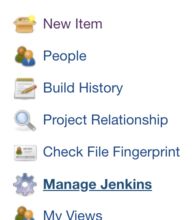
Go to the home page and click on Manage Jenkins
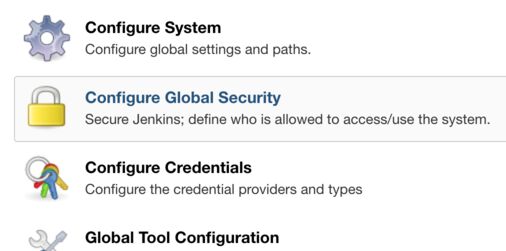
Click on Configure Global Security
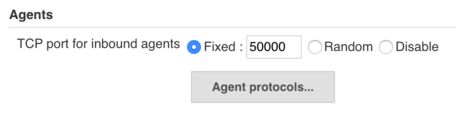
Scroll down to Agents and set the TCP port for inbound agents to 50000.
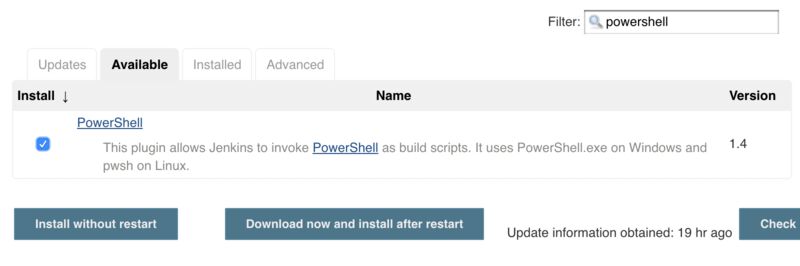
Install the Powershell plugin
Powershell gives you significantly more flexibility in build steps. This plugin will add support for Powershell commands as a build step.
Go to the home page and click on Manage Jenkins
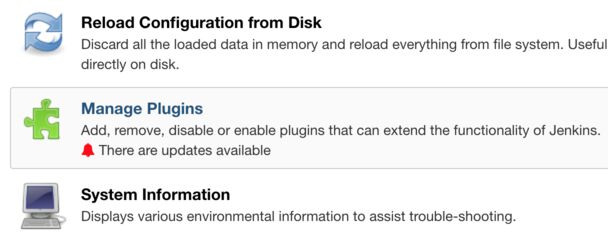
Click on Manage Plugins
Click on Available and search for “Powershell”. Tick this plugin and click install without restart.
Create agent node
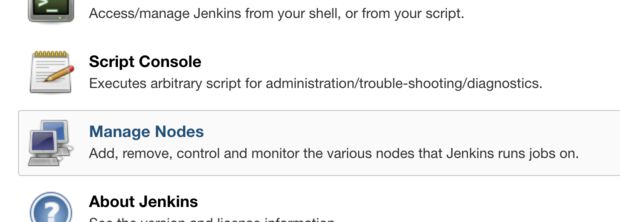
Go to the home page and click on Manage Jenkins
Click on Manage nodes
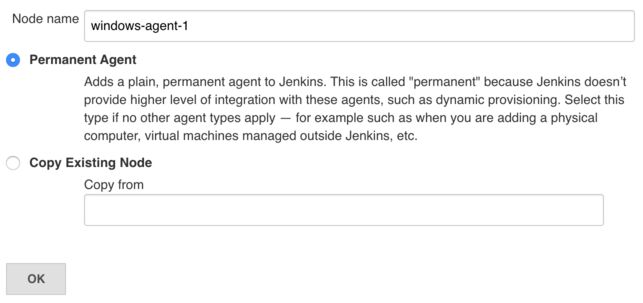
Enter a name and choose Permanent Agent
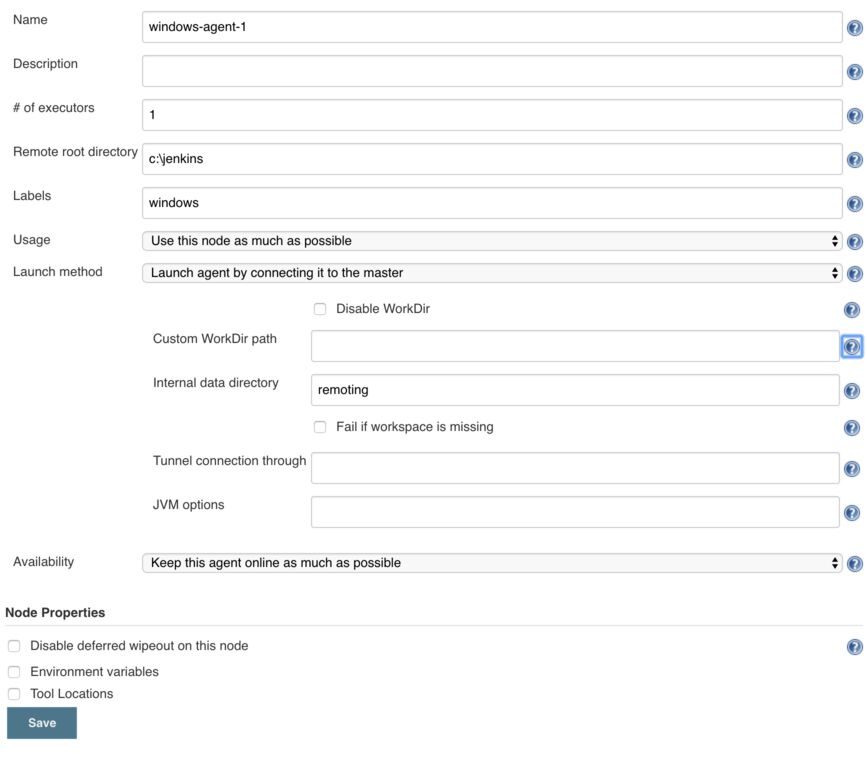
Enter the following details:
- Name: Name of the node to be displayed in Jenkins
- # of executors: how many jobs should be able to concurrently run on this agent, generally set this to the number of cores available.
- Labels: a list of labels associated with this node. This can be used to restrict jobs to this node or node type. I like to put in operating system and architecture.
- Remote root directory: C:\jenkins
- Launch method: Launch agent by connecting it to the master
After clicking on save you will be returned to a list of nodes. Click on the newly created node which will be offline.
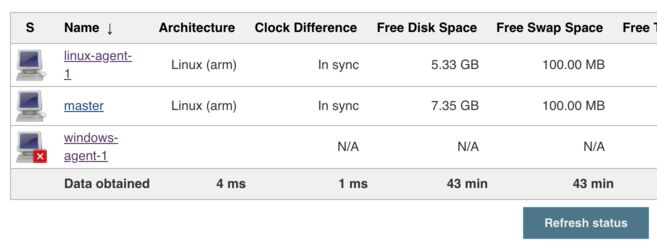
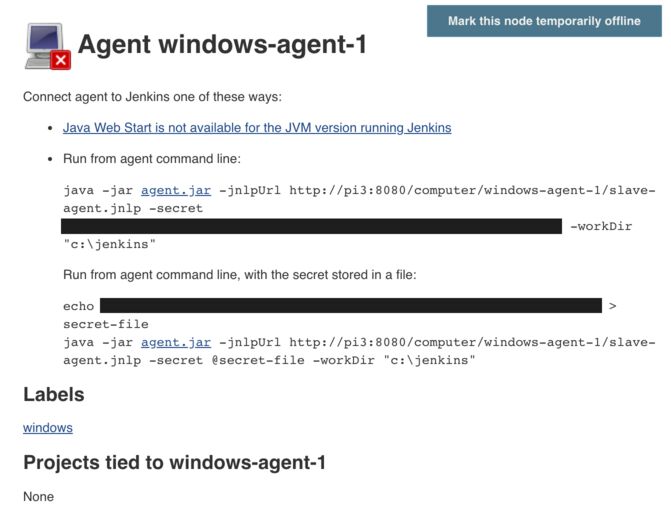
Depending on which master hosting method used you may be able to launch with Java webstart, but that won’t allow you to install the service since it won’t run with administrative priviledges. Instead we’ll use the second connection method. For now copy the following as we will use them a little later:
Configure Windows System
Now we can configure the windows system itself. We need to install some prerequisites and then install the agent as a service.
Install the .NET Framework
In an administrative Powershell run the command below to install the .NET Framework
Add-WindowsCapability -Online -Name NetFx3~~~~
Install Java
The agent needs a Java JRE installed on the agent machine. I use the Microsoft OpenJDK runtime. You can download it from here: https://www.microsoft.com/openjdk
If you use chocolatey package manager you can run the following command.
choco install microsoft-openjdk
Setup Agent
There are a few ways to setup this agent to run on startup. I’ll show 2 methods. The first will work if you used the Docker method for creating the master server. If you installed the master using the ubuntu/RPi method then most likely you’ll need to use the second method.
Security Note Both of these methods will have the installed service run as the local SYSTEM user which grants it full administrative rights on the PC. In a production environment you will want to run the agent as a domain user. This can be configured through the normal Windows Service Management. Instructions can be found under the Configure Slave Service to Run as Domain User section of the documentation here
Jump to the instructions for your method:
Ubuntu/Raspbian Hosted Method - Self-Managed Agent
From the Windows agent system log in to Jenkins and go to the status page for the windows node that was created earlier.
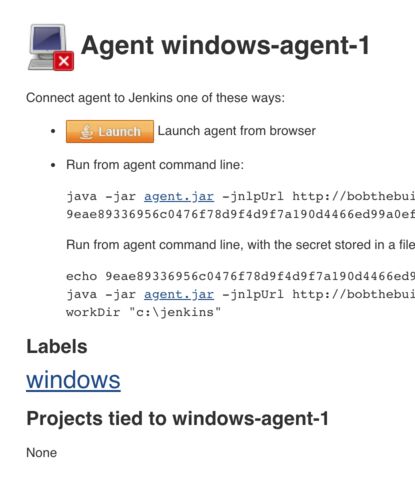
Click the Launch agent from browser. This will start an agent with a GUI. Click File and then “Install as a Service”. This will fail but will download the files we need.
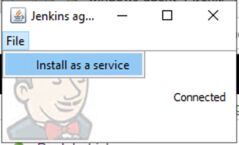
Open an administrative shell and enter the following commands to install the service.
cd c:\jenkins
.\jenkins-slave.exe install
net start jenkinsslave-c__jenkins
This will start the agent and it will relaunch every reboot. You can skip ahead to setting up a test job.
Docker Hosted Method - NSSM
I adapted this method from a larger method on stackoverflow. From the Windows agent system log in to Jenkins and go to the status page for the windows node that was created earlier.
Create a folder, c:\jenkins
Download agent.jar (the link specified on the agent page) to c:\jenkins
Create a batch file with the command under “Run from agent command line” which will look like below. Save this as JenkinsService.bat
java -jar agent.jar -jnlpUrl http://HOSTNAME:8080/computer/windows-agent-1/slave-agent.jnlp -secret SECRETKEY -workDir "c:\jenkins"
Install NSSM, either manually or through chocolatey.
choco install nssm
In an administrative shell run the following to register this agent.
nssm install JenkinsAgent C:\jenkins\JenkinsService.bat
nssm start JenkinsAgent
This will start the agent and it will relaunch every reboot.
Create a test job for Windows agents
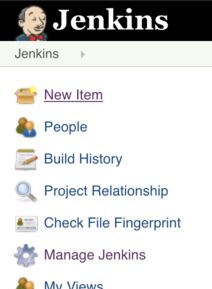
From the Jenkins homepage click “New Item”.
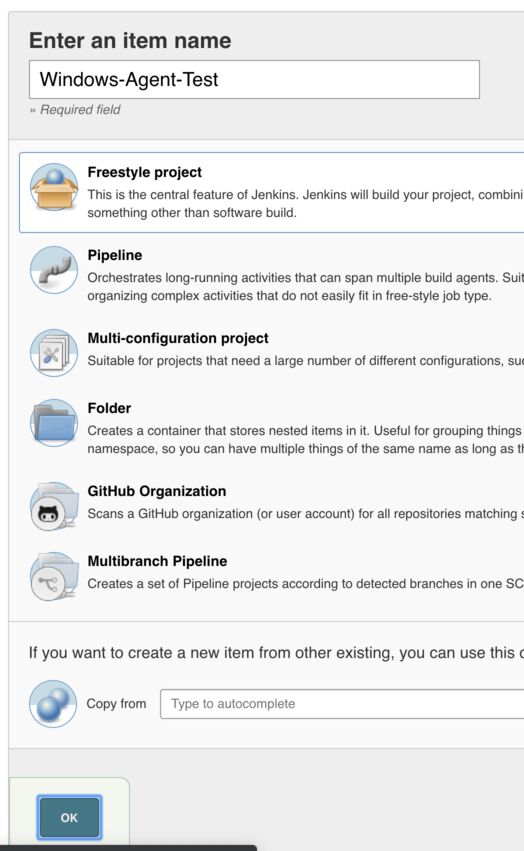
Enter the name as Windows-Agent-Test, select Freestyle Project and click save.
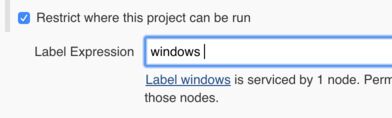
In the details for this job enable “Restrict where to run this job” and type the label “windows”. This will mean it will only run on the agent we just created.
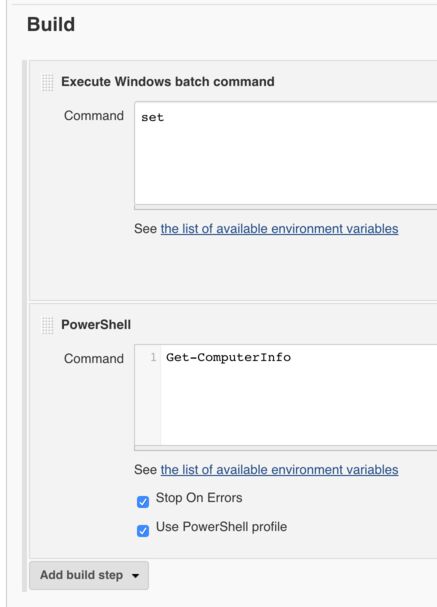
We want to add 2 build steps. First add a Batch command and type the following command to print all environment variables.
SET
Now add a Powershell build step and add the following command. This will print various information about the system.
Get-ComputerInfo
Click save and this will return you to the status page for the job. Click “Build Now” and wait a few seconds for the job to run.
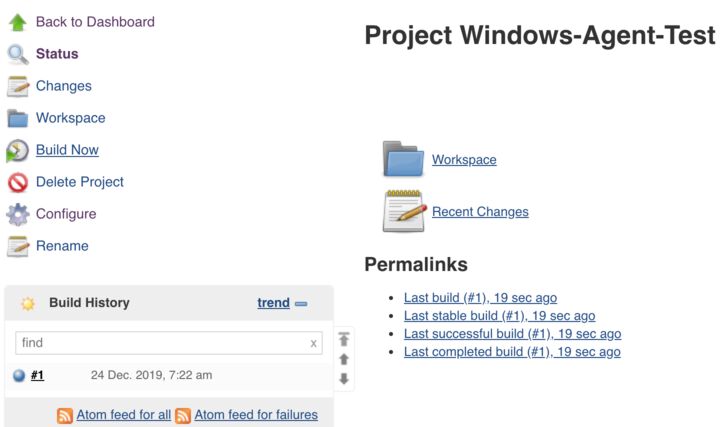
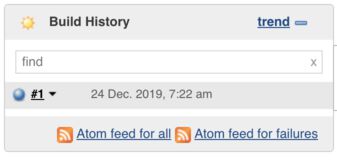
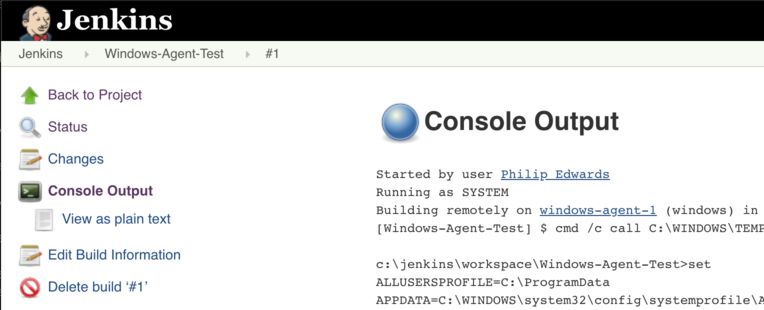
Once you see the job has turned blue in the bottom left you can click #1 and then click “Console Output” to see what was printed out.
What’s next?
We now have a fairly robust lab for working with any kind of job, however managing agents can be kind of annoying, and there is always potential for dependencies to be installed on them which are not documented, or older versions conflicting with newer builds. We can solve these types of issues by dynamically creating agents and installing dependencies as needed. Tomorrow we’ll setup a linux docker host and setup on-demand agents.
Troubleshooting: Updating Java Runtime
If you have previously followed this guide and need to update your java version here are the guides. It’s slightly different depending on if you used the NSSM version or the docker hosted self contained agent version.
NSSM Service Method
1. Remove previous Java versions
If using chocolatey, you can do the following:
choco uninstall javaruntime
choco uninstall jre8
2. Install Microsoft Open JDK
Available here: https://www.microsoft.com/openjdk
If using chocolatey you can do the following:
choco install microsoft-openjdk
3. Reboot your agent. It should automatically reconnect
Self-Managed Agent Method
1. Remove previous Java versions
If using chocolatey, you can do the following:
choco uninstall javaruntime
choco uninstall jre8
2. Install Microsoft Open JDK
Available here: https://www.microsoft.com/openjdk
If using chocolatey you can do the following:
choco install microsoft-openjdk
3. Modify Jenkins Agent launcher config
Modify C:\jenkins\jenkins-slave.xml and change the <executable> field by stripping out the path to be just:
java.exe
4. Reboot your agent. It should automatically reconnect.
Share