Enabling the Plugin
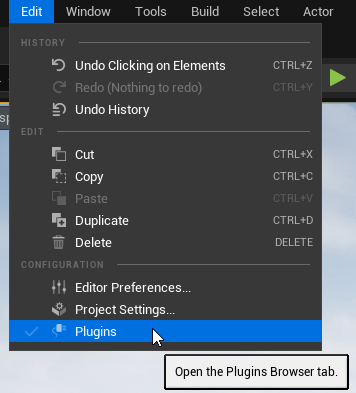
If you’ve installed Rush Hour from the Unreal Launcher, then you will need to enable the plugin in your project. First open your project in the editor. Then go to Edit -> Plugins.
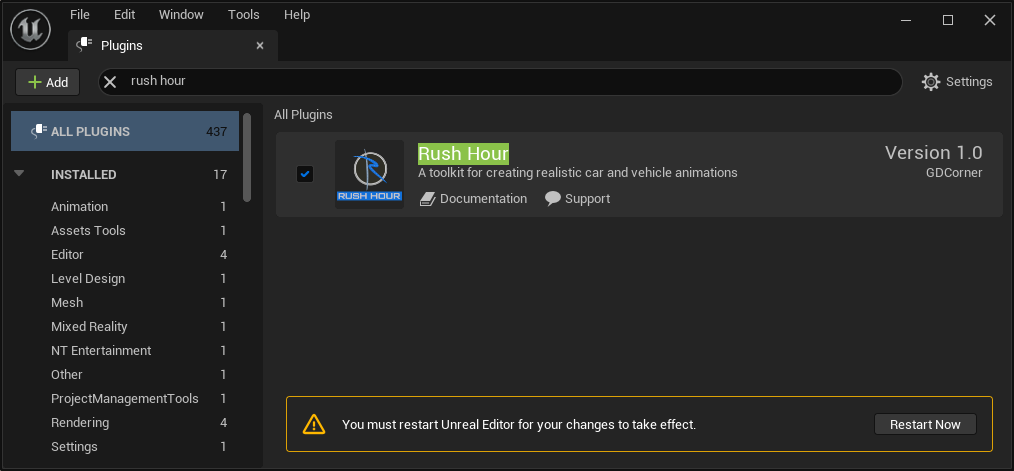
From here seach for Rush Hour and tick the box. It will ask you to restart, click “Restart Now”.
Testing the Plugin
Finding the Content
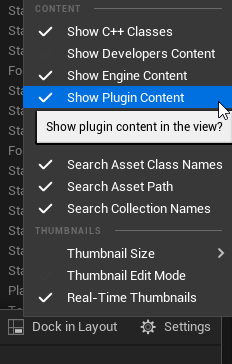
In your content browser, ensure that the “Show Plugin Content” and “Show Engine Content” options are enabled.
Then, expand the Engine and Plugins directories.
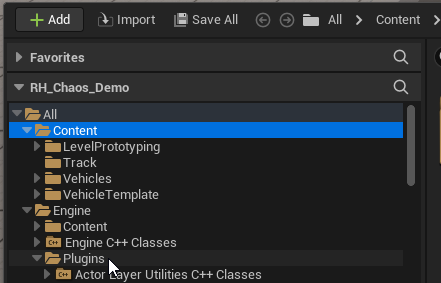
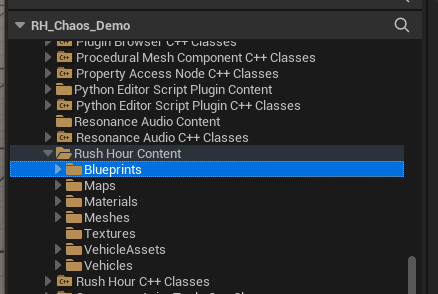
Scroll down and find “Rush Hour Content”. Expand this and expand the Blueprints directory. I recommend right clicking Rush Hour Content and selecting “Add To Favourites” so you can quickly jump back to this folder.
Loading Example Map
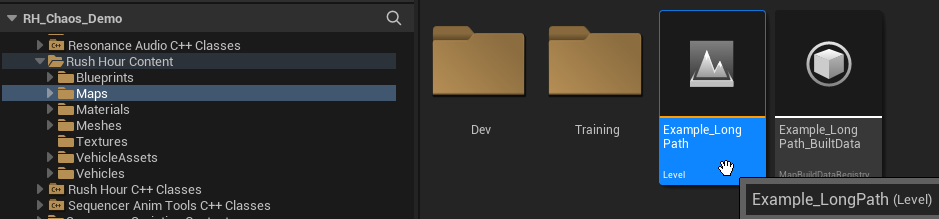
From the Rush Hour Content folder, expand Maps and open the Example_LongPath level.
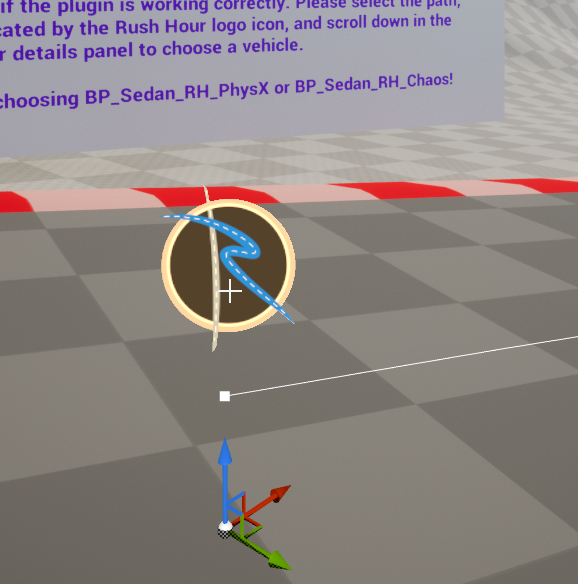
Select the Vehicle Animation Path actor by clicking the Rush Hour logo.
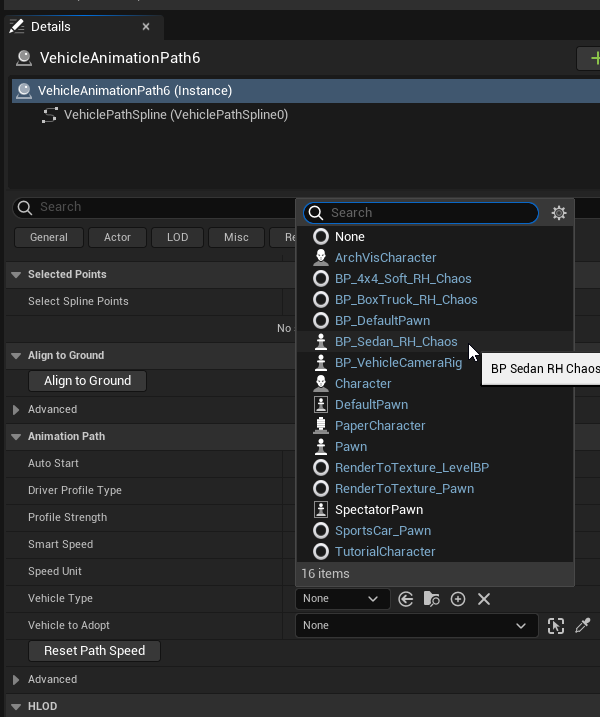
On the right, in the details panel, scroll down and expand “Vehicle Type” and choose the BP_Sedan_RH vehicle. For UE4 it will be called BP_Sedan_RH_PhysX and for UE5 it will be called BP_Sedan_RH_Chaos.
Press Play and the vehicle should drive along the path. If the vehicle drives, Rush Hour is all ready to go!
Controls are listed in the bottom left of the viewport so you can accelerate time, change camera angle, and so on.
Further example maps demonstrating things like jumps, banked corners and offroading can be found in the Maps/Examples folder.