Note: Video Is Being Updated This video was recorded for an older version and is being re-recorded. It is mostly accurate but it may contain out of date information. The body of this page is up to date.
Recording to a Sequence
Recording a vehicle to a sequence can help your workflow for producing final animations. The main benefits are:
- Perfect repeatability
- Ability to scrub through the animation in sequencer
- Ability to layer effects and camera cuts in reliably.
Limitations
- Currently light state is not recorded by sequence recorder or take recorder. I’m investigating an approach that will enable this to work.
More Information on Take Recorder
This is not a complete guide on Take Recorder, but rather a quick start which you can use to dive in the deep end. For more information on Take Recorder and Sequencer I recommend the official documentation.
Take Recorder in Unreal engine
Sequence Recorder vs Take Recorder
Take Recorder is the new method for recording actors to a sequence moving forward with newer version of Unreal Engine, but sequence recorder also works. These instructions are for Take Recorder, but it’s a very similar process for Sequence Recorder.
Enable Take Recorder Plugin
Go to Edit -> Plugins, search for Take Recorder, tick enable. It will prompt you to restart your project, click Restart, and continue on once the project is reloaded.
Recording with Take Recorder
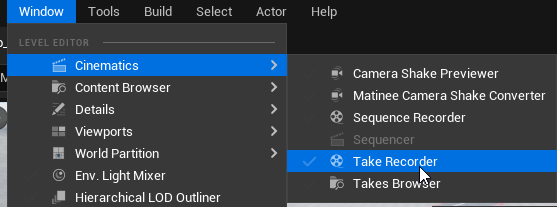
Open Take Recorder by going to Window -> Cinematics -> Take Recorder.
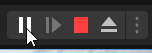
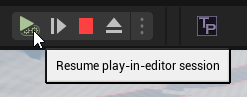
Play and Pause your play-in-editor session so the vehicle is spawned but hasn’t yet driven off.

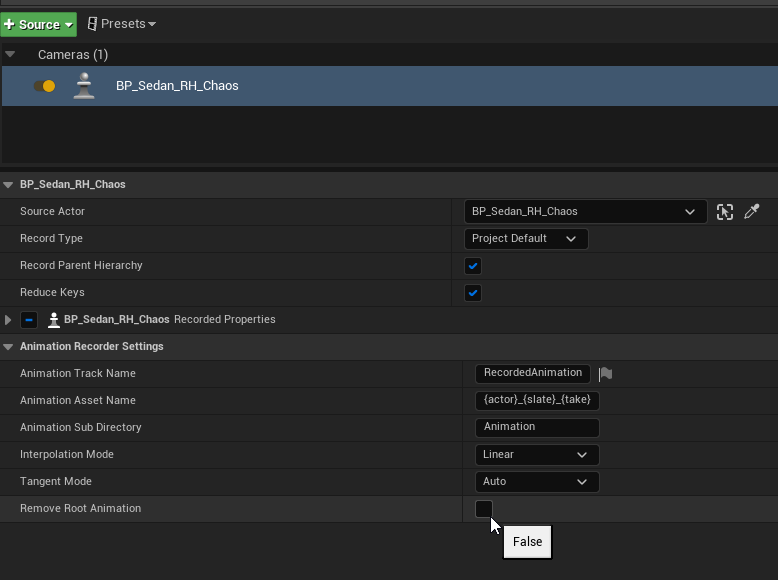
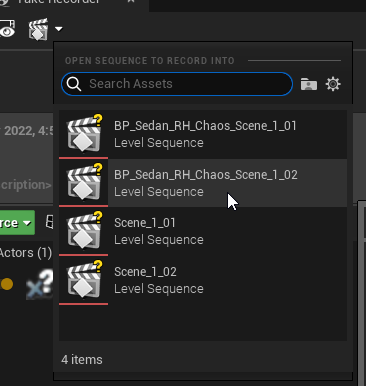
In Take Recorder, click “Source” -> From Actor -> Choose the actor you wish to track. In this case I’m choosing BP_Sedan_RH_Chaos.

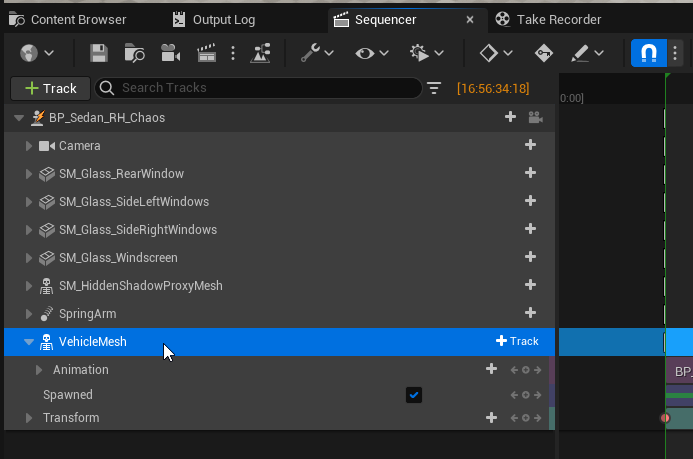
Select the actor source, and then scroll down and uncheck “Remove Root Animation”. If you forget to do this you may find some meshes are in the wrong location, like windows hovering above the car.
Note Missing this step may cause issues like floating windows.
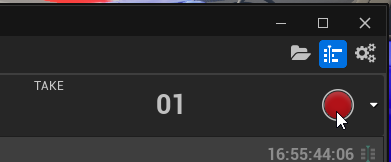
Press Record and wait for the timer to count down, then press Resume play in the editor.
Disable Simulate Physics on Recorded Actor Skeletal Mesh
Once the recording has taken place, the sequence will work fine when scrubbing through, but when you try and play in Movie Render Queue or at runtime, some meshes will remain in place, and some weird collisions can happen. To fix this you need to disable Simulate Physics on the recorded skeletal mesh.
Note Missing this step will cause issues when rendering with Movie Render Queue. Scrubbing in sequencer will be fine, but the vehicle won’t move, or only part of the vehicle will move when rendering.
Open The Sequence you just recorded.
Find the Actor & Skeletal Mesh
Select the main skeletal mesh, and in the details panel on the right search for and disable Simulate Physics.
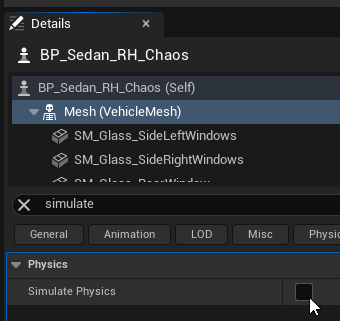
Ensure you save your sequence after making this change!
Note Ensure you disable Autostart on your Vehicle Animation Path actor before rendering with MRQ, or the live vehicle will still spawn and the vehicles may collide and interfere with each other.
General Tips for Best Results
- Before Recording, turn Scalability to Low in your editor or viewport, and reduce anything that may cause a performance drop or a hitch. Any hitches will be recorded into the final sequence.
- After Recording, ensure you have disabled “Simulate Physics” on the vehicles skeletal mesh, or it may appear fine in the editor, but fail to render correctly in the Movie Render Queue, or when played as a sequence in game.
- Before rendering, disable Auto Start on the Vehicle Animation Path you recorded the sequence from. If you don’t the path will attempt to spawn a vehicle on top of your recorded vehicle and they will collide.
- Before rendering, turn off any systems that will cause randomness in your world, such as the traffic spawner in the City Sample project. These systems don’t repeat the same way, so between renders you may have cars in the way of your car, or camera which were not expected.