Simple Mode vs Advanced Mode
Simple mode is the default mode in the Blender addon. It is designed to make it quick and easy to import a basic vehicle. To make the experience as simple as possible, it hides some of the advanced configurations you can do with the advanced mode. However, you can always switch to advanced mode after preparing the car with simple mode.
The import process on the Unreal side is identical for both modes.
Advanced Features hidden by simple mode
- No nanite support.
- Nanite does not support translucent materials, and simple mode doesn’t provide options to split out translucent materials. This means you can’t use nanite on vehicles prepared with simple mode.
- No brake caliper support.
- Brake calipers need to be separate meshes to the wheels, and put into the corresponding wheel brake caliper collection. There is no button provided in the simple mode menu. You can manually move the brake caliper meshes into the correct collection, or switch to advanced mode.
- No support for extra collections.
- Advanced mode exposes some extra geometry collections. These solve various problems like:
- Windows drawing in the incorrect order.
- Nanite only supports 64 materials per mesh, by splitting interior and exterior meshes, you are less likely to run into this limitation.
- Advanced mode exposes some extra geometry collections. These solve various problems like:
Blender Toolkit
The Vehicle Importer is an optional new workflow to drastically improve the time and effort involved in bringing a new vehicle into Unreal. It produces regular Chaos Vehicles. It consists of 2 parts:
- An addon for Blender (this article)
- The importer included with Rush Hour for Unreal Engine 5.0+
Template & Example Vehicles
I’ve provided template Blender files to demonstrate the toolkit & provide rough sizing for vehicles of the supported types. The importer currently supports 3 vehicle types:
Installing the Blender Addon
The addon currently supports the current LTS releases Blender, with other versions being “best efforts”. The current versions supported are: 3.3 LTS & 3.6 LTS.
Download the latest release from here https://github.com/GDCorner/RushHourVehicleToolkit/releases/latest
Making sure to grab the latest Source code (zip) file.
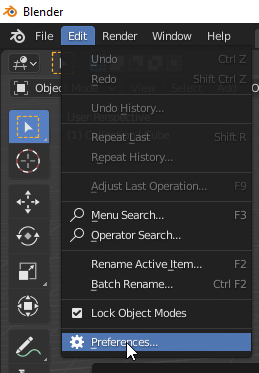
Open Blender and go to Edit - > Preferences
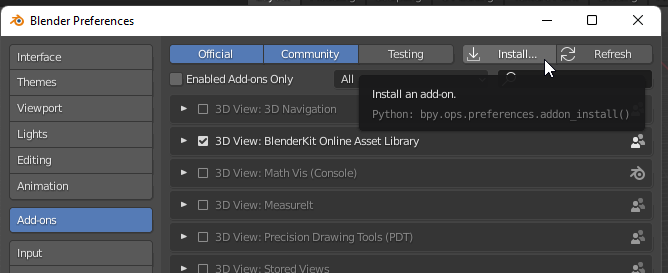
Go to the Addons Tab, and click Install in the top right
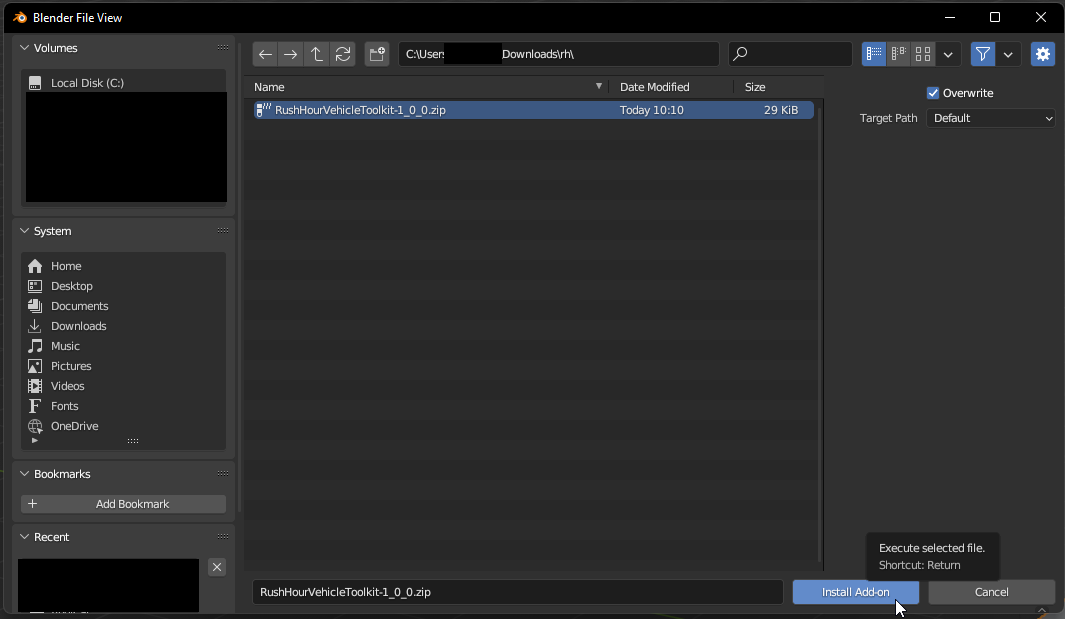
Navigate to where you downloaded the latest version of the addon, and click Install Addon
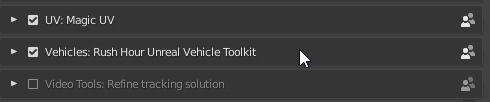
After it is installed, ensure it is activated by ticking the check box.
Before You Start
- Ensure your blend file filename doesn’t contain any spaces.
- Ensure your model is clean and meets the requirements as defined in the Vehicle Model Requirements documentation.